To setup parental controls on Netflix, you’ll need to take the follow actions:
- Set up your kids their own profile.
- Set their viewing restrictions. Add things like maturity level and blocking specific movies or TV shows on their account.
- Lock other profiles with a pin code so your kids can only access their account, not your adult-rating account.
- Require a PIN to add a new profile, so they can’t circumvent your rules by adding a new profile without parental controls.
In this guide, we’ll walk you through each step in step-by-step. Let’s get started.
Step 1: Create a Profile for Your Kid(s)
By creating a dedicated kids’ profile, you can ensure that your child only sees content that you specifically set for their account.
This allows you to directly control the maturity ratings and block any unsuitable content, preventing them from accessing anything not intended for their age.
Here’s how to setup a profile for your kids:
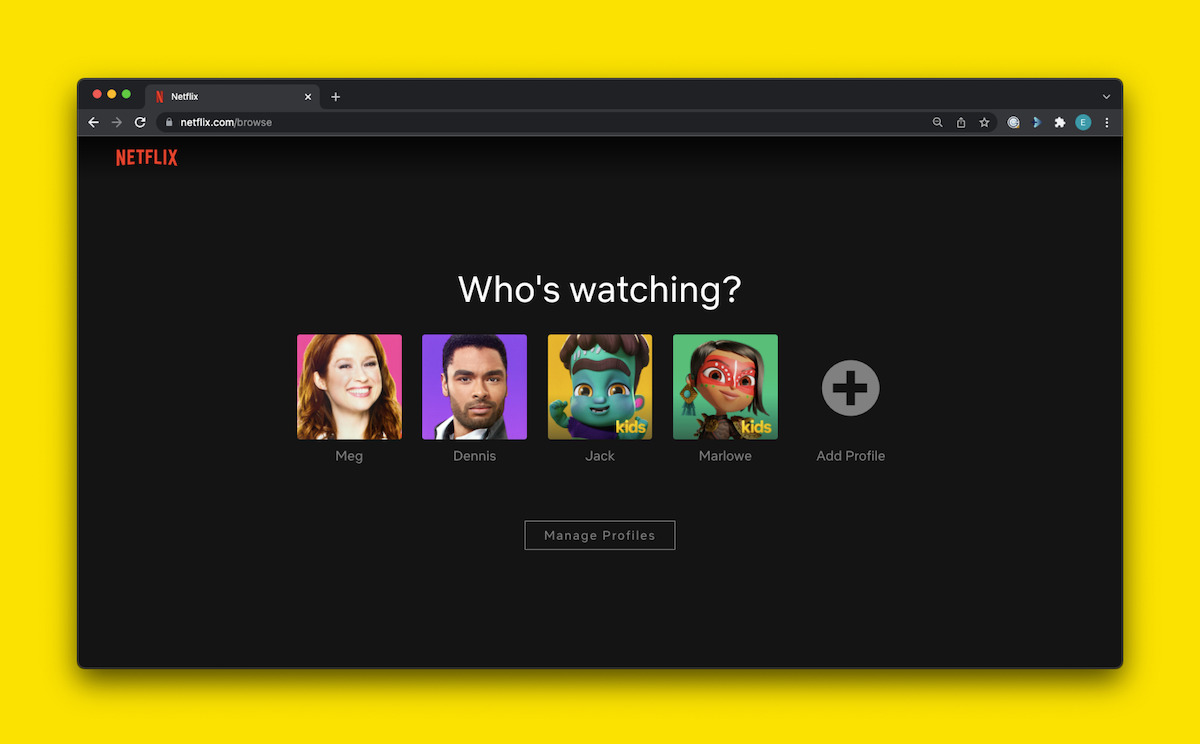
- TV or Streaming Device: Navigate to the profile selection screen and select “Add Profile” (+) to create a new user profile.
- Mobile Devices (Android or iOS): In the lower right of the Netflix app, tap “My Netflix,” then manage your profiles to add a new one.
- Web Browser: Visit your “Manage Profiles” page, choose “Add Profile,” and select the option for Kids.
At this stage, you can also select “For Kids” or “Kids Profile” to limit their viewing options to the Netflix Kid’s experience.
Top tip: Make their profile photo colorful so it’s easily identifiable.
Step 2: Set the Maturity Level of Your Kid’s Profile
Next, specify the maturity level of the profile you made for your kids. Follow these instructions on Android, iPhone or tablets:
- Open the Netflix app.
- Tap ‘My Netflix’ in the lower right corner.
- Tap the Menu in the upper right corner.
- Select ‘Manage Profiles’.
- Choose the profile you want to edit.
- Tap ‘Viewing Restrictions’.
- Tap ‘Maturity Rating’.
- Enter your Netflix account password.
- Set the desired maturity rating level.
If you’re on a web browser, these instructions differ slightly. Visit “profiles” then “viewing restrictions”, enter your password and then set maturity levels.
Tip: Set different ratings for each child’s profile to ensure they’re only seeing what’s appropriate for them.
Step 3: How to Block Specific Titles (Regardless of Age)
Sometimes, even content that falls within a child’s maturity rating may not align with your preferences. Blocking specific shows or movies adds an extra level of customization.
Follow these instructions to block specific movies and TV shows on Netflix:
- iPhone & Android: Head back to “manage profiles”, choose the kid’s profile, tap “viewing restrictions” and “Block Titles”. Type the name of the show and add it to blocked titles.
- Browsers: Head to “Profiles”, select your kid’s profile and find “viewing restrictions”. Look for “Title Restrictions” and type the name of the title you want to block. Made a mistake? Remove any title from the blocked list by tapping “Edit” and selecting the “X” next to the title.
Step 4: Add a Profile Lock to All Profiles to Stop Them Being Used
You can set up a PIN requirement to prevent new profiles from being created without your permission. First, follow the steps to add a Profile Lock PIN to the main profile of your Netflix account, as this setting is only available for the main profile.
Once the Profile Lock PIN is set on your main profile, follow these steps to require a PIN for adding new profiles:
- Open your Account page using a web browser.
- Select Profiles, then click on the main account profile.
- Choose ‘Profile Lock.’
- Enter your Netflix account password.
- Check the box that says ‘Require PIN to add new profiles’ and click Save.
To update settings across devices, you may need to refresh Netflix:
- Switch to another profile, then switch back.
- Or, sign out of your device and sign back in.
Some older devices may not support Profile Lock PINs due to hardware limitations.
Step 5: Require a PIN to Add New Profiles
To prevent new profiles from being created without your permission, you can set up a PIN requirement.
After setting up a Profile Lock PIN on your main profile, follow these steps to require a PIN for adding new profiles:
- Open your Account page using a web browser.
- Select ‘Profiles’ and click on the main account profile (usually the first one listed).
- Choose ‘Profile Lock’.
- Enter your Netflix account password.
- Check the box that says ‘Require PIN to add new profiles’ and click ‘Save’.
If the new settings do not update immediately, you may need to refresh Netflix on your devices:
- Switch to another profile, then switch back.
- Alternatively, sign out of your device and sign back in.
Note that some older devices may not support Profile Lock PINs.
Final Tips for Setting Up Netflix Parental Controls
Turn off autoplay
With these instructions, you can turn off autoplay to stop the endless binge watch in its tracks.
Review viewing history
Sometimes, the best way to understand your child’s viewing habits is by checking their profile’s viewing history. This helps you stay informed about what content they’re watching.
On a web browser from your Netflix Account page, choose the profile and click “Viewing activity” to see the complete list of content watched.
Use this feature to reinforce positive viewing habits or address anything concerning.
How to keep kids from switching profiles on Netflix?
To prevent kids from switching profiles on Netflix, you can use a Profile Lock PIN.
By adding a PIN to individual profiles, only users who know the PIN will be able to access that profile. Here’s how to set it up:
Access Account Settings:
- Go to your Netflix Account page using a web browser.
Select Profile Lock:
- Under “Profiles,” choose the profile you want to protect.
- Click on “Profile Lock.”
Add a PIN:
- Enter your Netflix account password to proceed.
- Set a 4-digit PIN, which will be required to access this profile.
This will ensure that children cannot easily switch to an adult profile without knowing the PIN, keeping their viewing restricted to their designated content.


